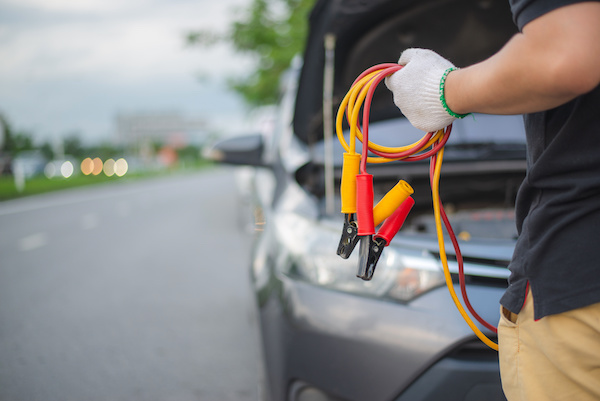
Every driver should learn how to jump-start their vehicle at one point or another. Even though it might look intimidating, It’s a procedure that is much more simpler than it seems. If you don’t know the first thing about it, you’ll have the knowledge and confidence to take it on anytime and anywhere by the end of this article.
Before you can recharge and get going, here are few things you need:
- A power source - either a portable battery or another powered vehicle
- Jumper Cables
Jumper cables are long insulated cables with toothy clips on one or both ends. The clips are distinguished by color, usually red and black, to indicate positive and negative polarity. The red clip is positive, whereas the black clip is negative.
We recommend that you always keep a set of dependable jumper cables in your vehicle at all times. A collection of jumper cables can be purchased at an auto parts store or a big box store for less than $30 and will last many years. Most drivers store their jumper cables in their trunks.
What You Need to Know About Car Batteries Before Jump-Starting a Car
Car batteries have two crucial points, called terminals. There is a positive and a negative terminal. Connecting cables to the right terminal are of utmost importance to complete the circuit and give power to the dead battery.
The positive terminal is the bigger of the two and is usually indicated with a “+” symbol. The positive terminal will connect to the positive clip (red) on the jumper cable. The negative terminal is the smaller nub and is usually indicated with a “-” symbol. This terminal will be attached to the black clip on your jumper cable.
Here is your step-by-step guide on how to jump-start a car (with another vehicle as the power source):
Step 1: Check the batteries. Make sure that the battery of the power source has enough voltage.
Step 2:Properly position both vehicles and make sure both are turned off. Put both cars in park or neutral. Make sure the ignitions are off for both vehicles and put on the parking brake.
Step 3: Open the hood of each car.
Step 4: Attach the clips in the following order.
Red to Dead - Connect red, or positive, clip to the positive terminal on the dead car.
Red to Doner - Connect the red or positive clip to the donor battery’s positive terminal on the other car.
Black to Donor - Connect the black or negative clip to the negative terminal of the donor car.
Black to Metal - Connect the black clip on a grounded surface on the vehicle with the dead battery. A grounded surface is any unpainted metal part of the dead car that is not directly next to the batter. An example of a grounded surface could be one of the metal struts that holds the hood open.
Step 5: Start the engine on thedonor car, the vehicle with the working battery. Leave it running for a few minutes to allow the battery to supply power to the dead battery.
Step 6: Start your engine on the car with the dead battery. If your engine starts without any problems, leave both vehicles running for a few minutes to allow the battery to continue to charge.
Step 7: After several minutes, you may unclip the cables from both cars, in the following order:
Black/Negative clip on Metal
Black/Negative on the donor car
Red/Positive clip on the donor car
Red/Positive clip on the dead car’s battery
Your vehicle’s alternator should now kick in and continue charging the battery, so you are in the clear to drive again. Now you know to make this task a breeze! If your battery continues to go dead, contact our expert mechanics at Pete’s Auto Service in Charlotte, NC, and we’ll get that problem straightened out for you in no time.